Mohawk Laminate Flooring is a popular choice for homeowners due to its durability and stylish appearance. It offers realistic wood designs, cost-effective solutions, and easy installation. Acclimate the flooring for 24 hours and inspect each plank before installation. Following proper guidelines ensures a professional finish and long-lasting performance.
1.1 What is Mohawk Laminate Flooring?
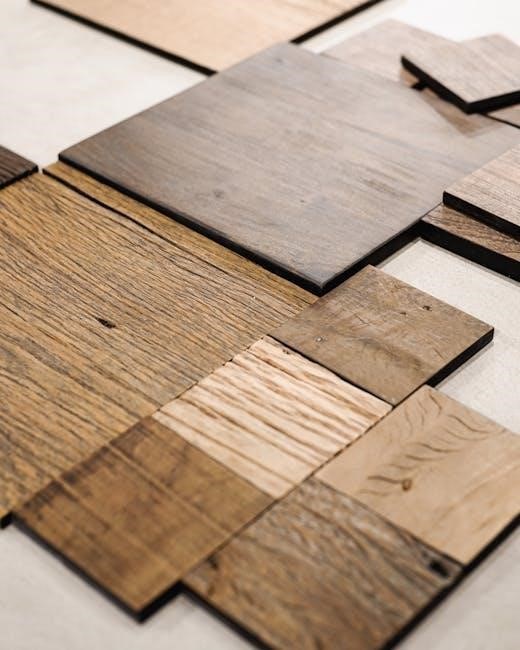
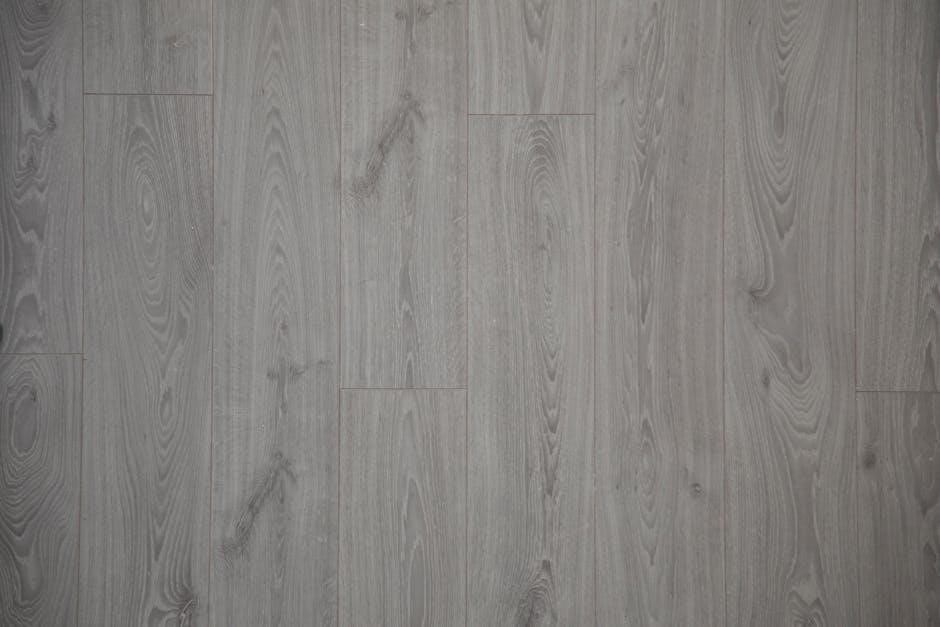
Mohawk Laminate Flooring is a high-quality, versatile flooring option designed to mimic the appearance of natural wood and stone. It consists of multiple layers, including a durable wear layer, a high-density fiberboard core, and a moisture-resistant backing. Known for its realistic designs and vibrant colors, Mohawk Laminate Flooring offers a cost-effective alternative to hardwood. It is easy to install and maintain, making it a popular choice for homeowners. The flooring is also resistant to wear, fading, and moisture, ensuring long-lasting performance in various settings. Mohawk’s innovative technologies, such as SolidTech Premier with Signature HDX, enhance its durability and aesthetic appeal.
1.2 Benefits of Mohawk Laminate Flooring
Mohawk Laminate Flooring offers numerous benefits, making it a top choice for homeowners. It is highly durable, resistant to scratches, fading, and moisture, ensuring long-lasting performance. The flooring is cost-effective, providing a luxurious appearance at a fraction of the cost of natural wood or stone. Its realistic designs and vibrant colors cater to various interior styles. Additionally, it is easy to install with features like the Uniclic locking system, saving time and effort; Maintenance is also straightforward, requiring only regular cleaning. Mohawk Laminate Flooring is a practical and stylish solution for any home, offering both functionality and aesthetic appeal. Its noise-reducing properties and eco-friendly options further enhance its value.
Preparation for Installation
Ensure the installation site is ready by acclimating the flooring, inspecting the subfloor, and gathering necessary tools. A vapor barrier is essential for concrete subfloors.
2.1 Tools and Materials Needed
Before starting, gather essential tools and materials for a smooth installation. Required tools include a tapping block, pull bar, measuring tape, pencil, utility knife, and safety goggles. A saw or cutting tool is necessary for trimming planks. Ensure you have a notched trowel for underlayment and a hammer for tapping planks into place. Materials needed include underlayment, vapor barrier (for concrete subfloors), transition strips, and flooring trim. Acclimate the flooring in the room for 24 hours prior to installation. Proper preparation and having the right tools on hand will ensure a professional-looking result and prevent potential issues during the process.
2.2 Acclimation of Laminate Flooring
Acclimation is crucial for Mohawk Laminate Flooring to ensure proper installation. Place the flooring planks in the room where they will be installed, allowing them to adjust to the environment. Keep the room at a consistent temperature between 65°F and 75°F and humidity levels between 35% and 55%. Let the flooring acclimate for at least 24 hours before installation. This step prevents shrinking or expanding after installation, ensuring a secure fit and minimizing gaps. Proper acclimation guarantees the flooring performs well and maintains its appearance over time. Failure to acclimate may lead to installation issues and potential damage to the flooring.
2.3 Inspecting the Subfloor
Inspecting the subfloor is a critical step before installing Mohawk Laminate Flooring. Ensure the subfloor is clean, dry, and free from old adhesives or debris. Check for structural integrity and any signs of damage. Verify that the subfloor is level and even, as unevenness can cause installation issues. Use a leveling compound if necessary to create a smooth surface. Additionally, ensure the subfloor is dry, as moisture can damage the laminate flooring over time. If installing over concrete, check for moisture levels and apply a vapor barrier if required. A properly prepared subfloor ensures a stable and long-lasting installation. Neglecting this step can lead to buckling or unevenness in the flooring.
Installation Process
Mohawk Laminate Flooring installation involves laying underlayment, securing the first row, and using the Uniclic locking system for subsequent rows. Ensure expansion gaps and a clean environment for optimal results.
3.1 Laying the Underlayment
Laying the underlayment is the first step in installing Mohawk Laminate Flooring. Ensure the subfloor is clean and dry before unrolling the underlayment material. For concrete subfloors, install a vapor barrier with overlapped seams of at least 8 inches. Cut the underlayment to size using a utility knife, ensuring it fits snugly without overlapping. Secure the underlayment with tape to prevent movement during installation. For planks without pre-attached underlayment, install over a single layer. This step ensures moisture protection and provides a smooth surface for the laminate flooring. Properly laid underlayment is crucial for a successful installation and long-lasting performance. Always follow the manufacturer’s guidelines for optimal results.
3.2 Installing the First Row
Installing the first row of Mohawk Laminate Flooring sets the foundation for a successful installation. Begin by selecting the longest, straightest planks for the first row. Align the first plank with the longest wall, ensuring it is straight and properly spaced. Use spacers to maintain the recommended expansion gap between the flooring and the wall. Measure and cut the first plank to fit, leaving space at the end for the next row. Secure the plank with spacers to hold it in place. Once aligned, gently snap the plank into position, ensuring it locks securely. This step ensures proper alignment and a professional finish for the entire flooring installation.
3.3 Installing Subsequent Rows
After completing the first row, begin installing subsequent rows by starting with a full plank, ensuring proper staggering of seams for stability; Align the plank with the previous row, using the Uniclic locking system to secure it in place. Gently tap the plank with a tapping block to ensure a snug fit. Continue this process, maintaining the recommended expansion gap and using spacers as needed. For the last plank in each row, measure and cut it to fit perfectly, leaving space at the end. Use a utility knife or saw for precise cuts. Ensure each plank is securely locked to the previous one, maintaining a tight joint. This method guarantees a seamless and professional-looking floor installation.
Common Challenges and Solutions
Issues like uneven subfloors can cause gaps or buckling. Use shims or self-leveling compound to level the surface. Cutting planks accurately ensures proper fit and avoids waste.
4.1 Dealing with Uneven Subfloors
Uneven subfloors are a common challenge during Mohawk laminate flooring installation. To address this, inspect the subfloor thoroughly using a level or straightedge to identify high and low spots. Apply a self-leveling compound to fill uneven areas, ensuring the surface is smooth and even. Allow the compound to dry completely before proceeding. For severe unevenness, additional measures like plywood or shims may be necessary. Proper preparation prevents issues like air pockets or buckling in the laminate flooring. Always follow manufacturer guidelines for leveling products and ensure the subfloor is clean, dry, and flat before installation begins.
4.2 Cutting Planks to Size
Cutting Mohawk laminate planks to size is essential for a seamless installation. Use a utility knife or a saw, depending on your preference and the thickness of the planks. Score the plank with a utility knife and snap it along the line for a clean cut. For curved cuts, mark the area with a pencil and carefully cut along the line. Always wear safety gloves and eyewear to protect yourself. Measure twice to ensure accuracy and label each cut plank to avoid confusion during installation. Proper cutting ensures a professional finish and prevents waste. Store leftover planks for future repairs or replacements.

Finishing Touches
The final steps involve securing the flooring, adding transitions, and applying trim. Ensure all edges are tightly sealed and gaps are filled for a polished, professional appearance.
5.1 Securing the Flooring
After laying all the planks, ensure the flooring is securely fastened to the subfloor. Use appropriate fasteners for concrete or wooden subfloors to prevent shifting. Apply even pressure across the entire surface to avoid uneven areas. Check for any loose planks and secure them properly. Additionally, ensure the expansion gaps around the perimeter are maintained to allow for natural expansion and contraction of the flooring material. This step is crucial for the longevity and stability of the Mohawk laminate flooring. Proper securing prevents movement and ensures a durable, even surface for years to come.
5.2 Adding Transitions and Trim
Install transitions at doorways, hallways, and room edges to create a seamless look; Measure and cut transition strips to fit the space, ensuring they align with the flooring. Use a tapping block and mallet to secure them in place. For trim, measure the walls and cut baseboards or quarter rounds to cover gaps between the flooring and walls. Nail or adhesive can be used to secure trim firmly. Ensure all edges are flush and transitions are tight. This step enhances the overall appearance and provides a professional finish. Properly installed transitions and trim protect the flooring edges and create a polished, cohesive look throughout the space.
5.3 Sealing Gaps (if necessary)
After installing your Mohawk laminate flooring, inspect the edges and joints for any gaps. If necessary, apply a silicone-based sealant to fill these gaps, especially in high-moisture areas like kitchens or bathrooms. Use a caulk gun to apply the sealant directly into the gaps, then wipe away any excess with a damp cloth. This step ensures a watertight seal and prevents moisture damage. However, sealing gaps is typically optional unless specified by the manufacturer or for specific installation conditions. Always follow the product instructions for the sealant and ensure the flooring is clean and dry before applying. This final touch helps maintain the flooring’s integrity and appearance.

Maintenance and Care
Regularly sweep and clean Mohawk laminate flooring with a damp mop. Avoid excessive water and harsh chemicals to prevent damage. Dry spills immediately to maintain durability and appearance.

6.1 Cleaning and Upkeep
Regular maintenance is essential to preserve the appearance and durability of Mohawk laminate flooring. Sweep or vacuum the floor daily to remove dirt and debris. For deeper cleaning, use a damp mop with a mild, pH-neutral cleaner recommended by Mohawk. Avoid using excessive water, as it can damage the laminate. Never use harsh chemicals, wax, or abrasive cleaners, as they can harm the finish. Dry spills immediately to prevent water spots. For stubborn stains, gently scrub with a soft-bristle brush. Avoid using steam cleaners, as moisture can seep between planks. Clean high-traffic areas more frequently to maintain the floor’s appearance. Always follow Mohawk’s cleaning guidelines for optimal results.
6.2 Avoiding Moisture Damage
Mohawk laminate flooring is resistant to moisture but not immune to water damage. To prevent issues, ensure the subfloor is dry and properly sealed, especially in areas prone to humidity. Use a vapor barrier on concrete subfloors, overlapping seams by at least 8 inches. Clean spills immediately to avoid seepage between planks. Avoid using steam cleaners, as they can force moisture into the flooring. Place mats at entryways to catch excess moisture and ensure proper ventilation in rooms like kitchens and bathrooms. Never allow water to puddle on the surface, as it can weaken the core material. Regularly inspect for leaks and address them promptly to maintain the flooring’s integrity and appearance.
6.3 Repairing Damaged Planks
If a Mohawk laminate plank is damaged, it’s essential to address the issue promptly to prevent further deterioration. Start by identifying the extent of the damage and determining if the plank needs partial or full replacement. For minor scratches, touch-up kits can be used to restore the appearance. For more severe damage, carefully remove the damaged plank by disengaging it from the surrounding planks using a pry bar or hammer. Replace it with a new plank, ensuring it locks securely into place with the Uniclic system. Always follow the manufacturer’s guidelines for replacement to maintain the flooring’s structural integrity and warranty. Regular inspections and addressing issues early can prevent costly repairs and extend the lifespan of your Mohawk laminate flooring.